Improving the Physical Environment in Spencer Library: A First Visit from Image Permanence Institute
November 14th, 2017KU Libraries was recently awarded a planning grant from the National Endowment for the Humanities, under the Sustaining Cultural Heritage Collections program. The purpose of the grant is to work with an environmental consultant, Image Permanence Institute (IPI), to study the heating, ventilation, and air conditioning (HVAC) system in Spencer Research Library in order to better preserve our collections while also hopefully finding ways to save energy.
On October 23-25, 2017, we had our first visit from IPI consultants Christopher Cameron and Kelly Krish. The consultants met with the KU team, which consists of representation from Facilities Services, Campus Operations, Center for Sustainability, KU Libraries, Facilities Planning and Development, and the Department of English.
The first visit allowed the consultants to get a lay of the land: listening to participants’ concerns about the building’s environmental systems and collections issues, touring the spaces, and installing dataloggers to collect more information.
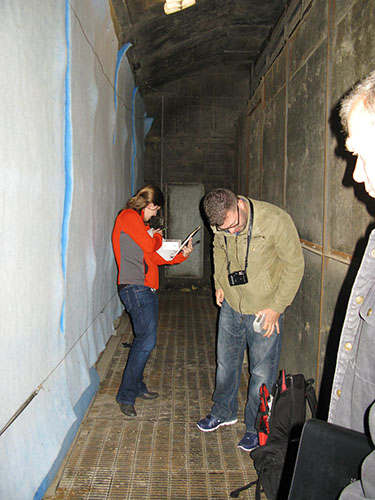
One of the first stops was the Spencer Library mechanical room. Facilities staff led the tour, pointing out how the system works, and, in particular, which parts have been most difficult to maintain.
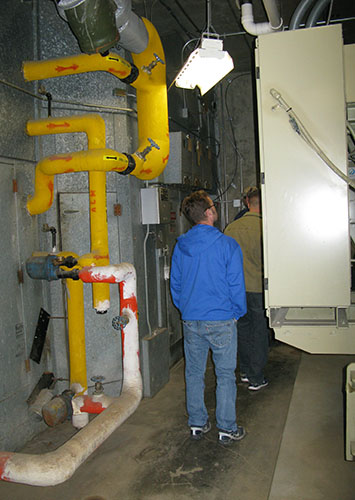
Left: Entering Spencer Research Library’s mechanical room.
Right: Kelly Krish and Christopher Cameron in the supply air area, with filters to the left.
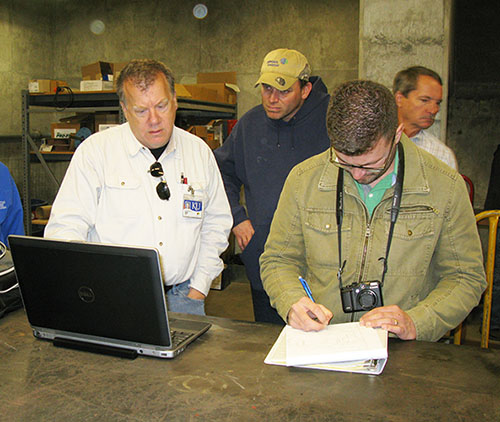
Facilities staff share energy data with IPI consultant Christopher Cameron.
The consultants also met separately with collections staff, walking the stacks and taking notes on anomalies in temperature and humidity, light, and other environmental issues. They asked many questions and took copious notes. They also used a handy infrared (IR) attachment to a smart phone in order to record hot and cold spots in the stacks. The IR images confirmed the ancedotal evidence that some of the vents aren’t functioning properly.
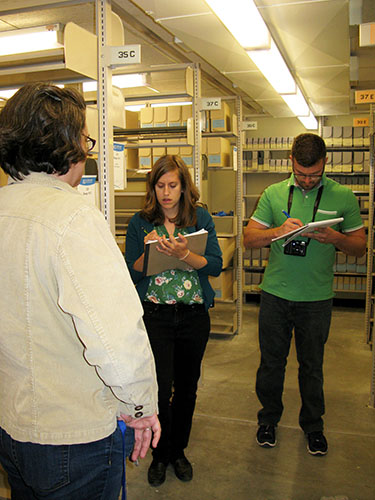
Kelly Krish and Christopher Cameron learn about environmental concerns in the stacks.
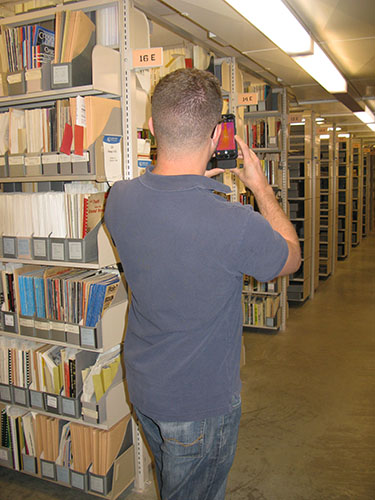
IPI also used an infrared camera to locate hot and cold spots in the stacks areas.
After discussing problems with collections staff, Christopher, Kelly, and Head of Conservation, Whitney Baker, discussed where additional dataloggers should be placed in order to supplement five years of data from thirteen loggers already in Spencer Library. They added loggers into the air handling unit, vents, and in collections spaces not previously monitored in order to gain a better overall picture in the coming months of the climate in Spencer Library.
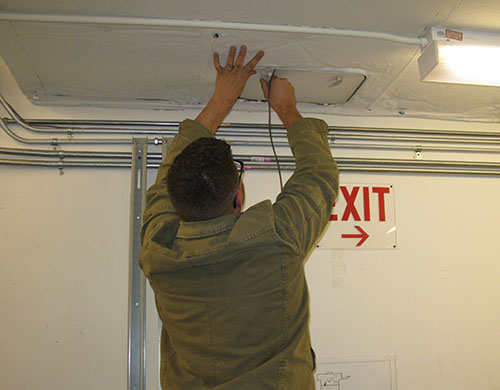
Christopher Cameron placing a datalogger in the air stream.
Until they visit us again next spring, we will take monthly data readings for twenty-three loggers in the Spencer stacks, vents, and mechanical systems. We look forward to IPI’s return visit, when we examine the data from the first six months and discuss additional testing that may be undertaken at that time.
Whitney Baker, Head
Conservation Services
Any views, findings, conclusions, or recommendations expressed in this blog post do not necessarily represent those of the National Endowment for the Humanities. “Improving the Physical Environment in Spencer Research Library” has been made possible by a grant from the National Endowment for the Humanities: Sustaining Cultural Heritage Collections.
![]()