Albert T. Reid: Conservation Internship
December 5th, 2017During the 2017 fall semester I had the opportunity to work as the Ringle Conservation Intern at the Kenneth Spencer Research Library. My time here has focused on treating and housing the Albert T. Reid Cartoon Collection, which includes 1899 original cartoons from various artists. This collection started as a generous donation of works from Reid in the 1930s, and between 1954 and 1956 the William Allen White Foundation and the School of Journalism at the University collected around 1750 items from around 600 different cartoonists.
The process of treating this collection required me to spend time dry-cleaning and housing every cartoon; this gave me the ability to read a majority of the cartoons, which gave me insight to the nature of the world in which these artists resided. Cartoonists, especially those who were creating political or editorial cartoons, were critiquing the world they inhabited. It was often hard not to draw parallels from our current political state while viewing cartoons of Russia’s influence on the world or a dawning of nuclear war. It was also particularly interesting that at the same time as these political cartoons were being created, so were early incarnations of some of our favorite pop-culture icons.

Bugs Bunny, Warner Bros., 01/13/1954 (CS 326)
Click image to enlarge.
When working with this collection I was particularly drawn to the comic strips, especially the strips that were science fiction oriented, i.e. Buck Rogers, Flash Gordon, and Brick Bradford. There’s something wonderful about the worlds these artists developed with little knowledge of where we would find ourselves. Looking at these today is like looking at a nostalgic future. I also found it fascinating that many of these same tropes and design ascetics are used by contemporary science fiction creators. I wonder if contemporary creators were influenced by these characters and cartoonists as I was.
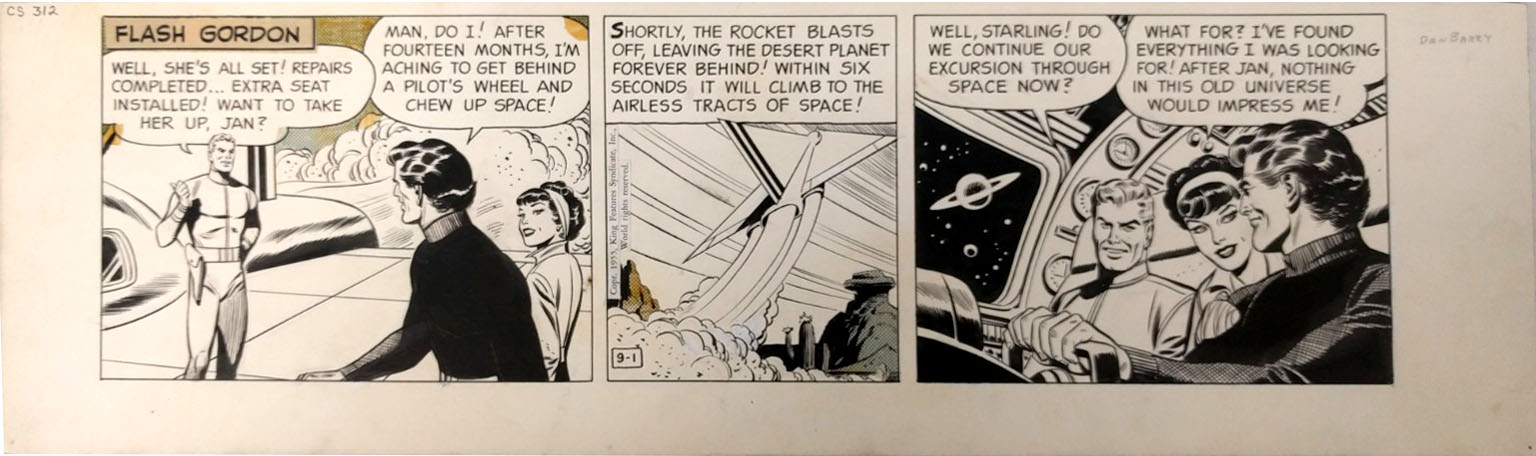
Flash Gordon, by Dan Berry, 09/01/1954 (CS-312)
Click image to enlarge.

Buck Rogers, by Rick Yager, 02/27/1956 (CS-308)
Click image to enlarge.
The Reid Cartoon Collection is a fantastic resource. It brings me great satisfaction that this collection will soon be accessible.
Matthew Willie Garcia
2017 Ringle Conservation Intern
Conservation Services