
For All Your Custom Housing Needs!
October 24th, 2017One of the most useful tools in a conservator’s arsenal is a good basic box template. Once one masters a simple enclosure pattern, the elements of the pattern can be adapted to create custom housings for just about anything – and in library and archives conservation, many objects besides books are in need of protective enclosures.
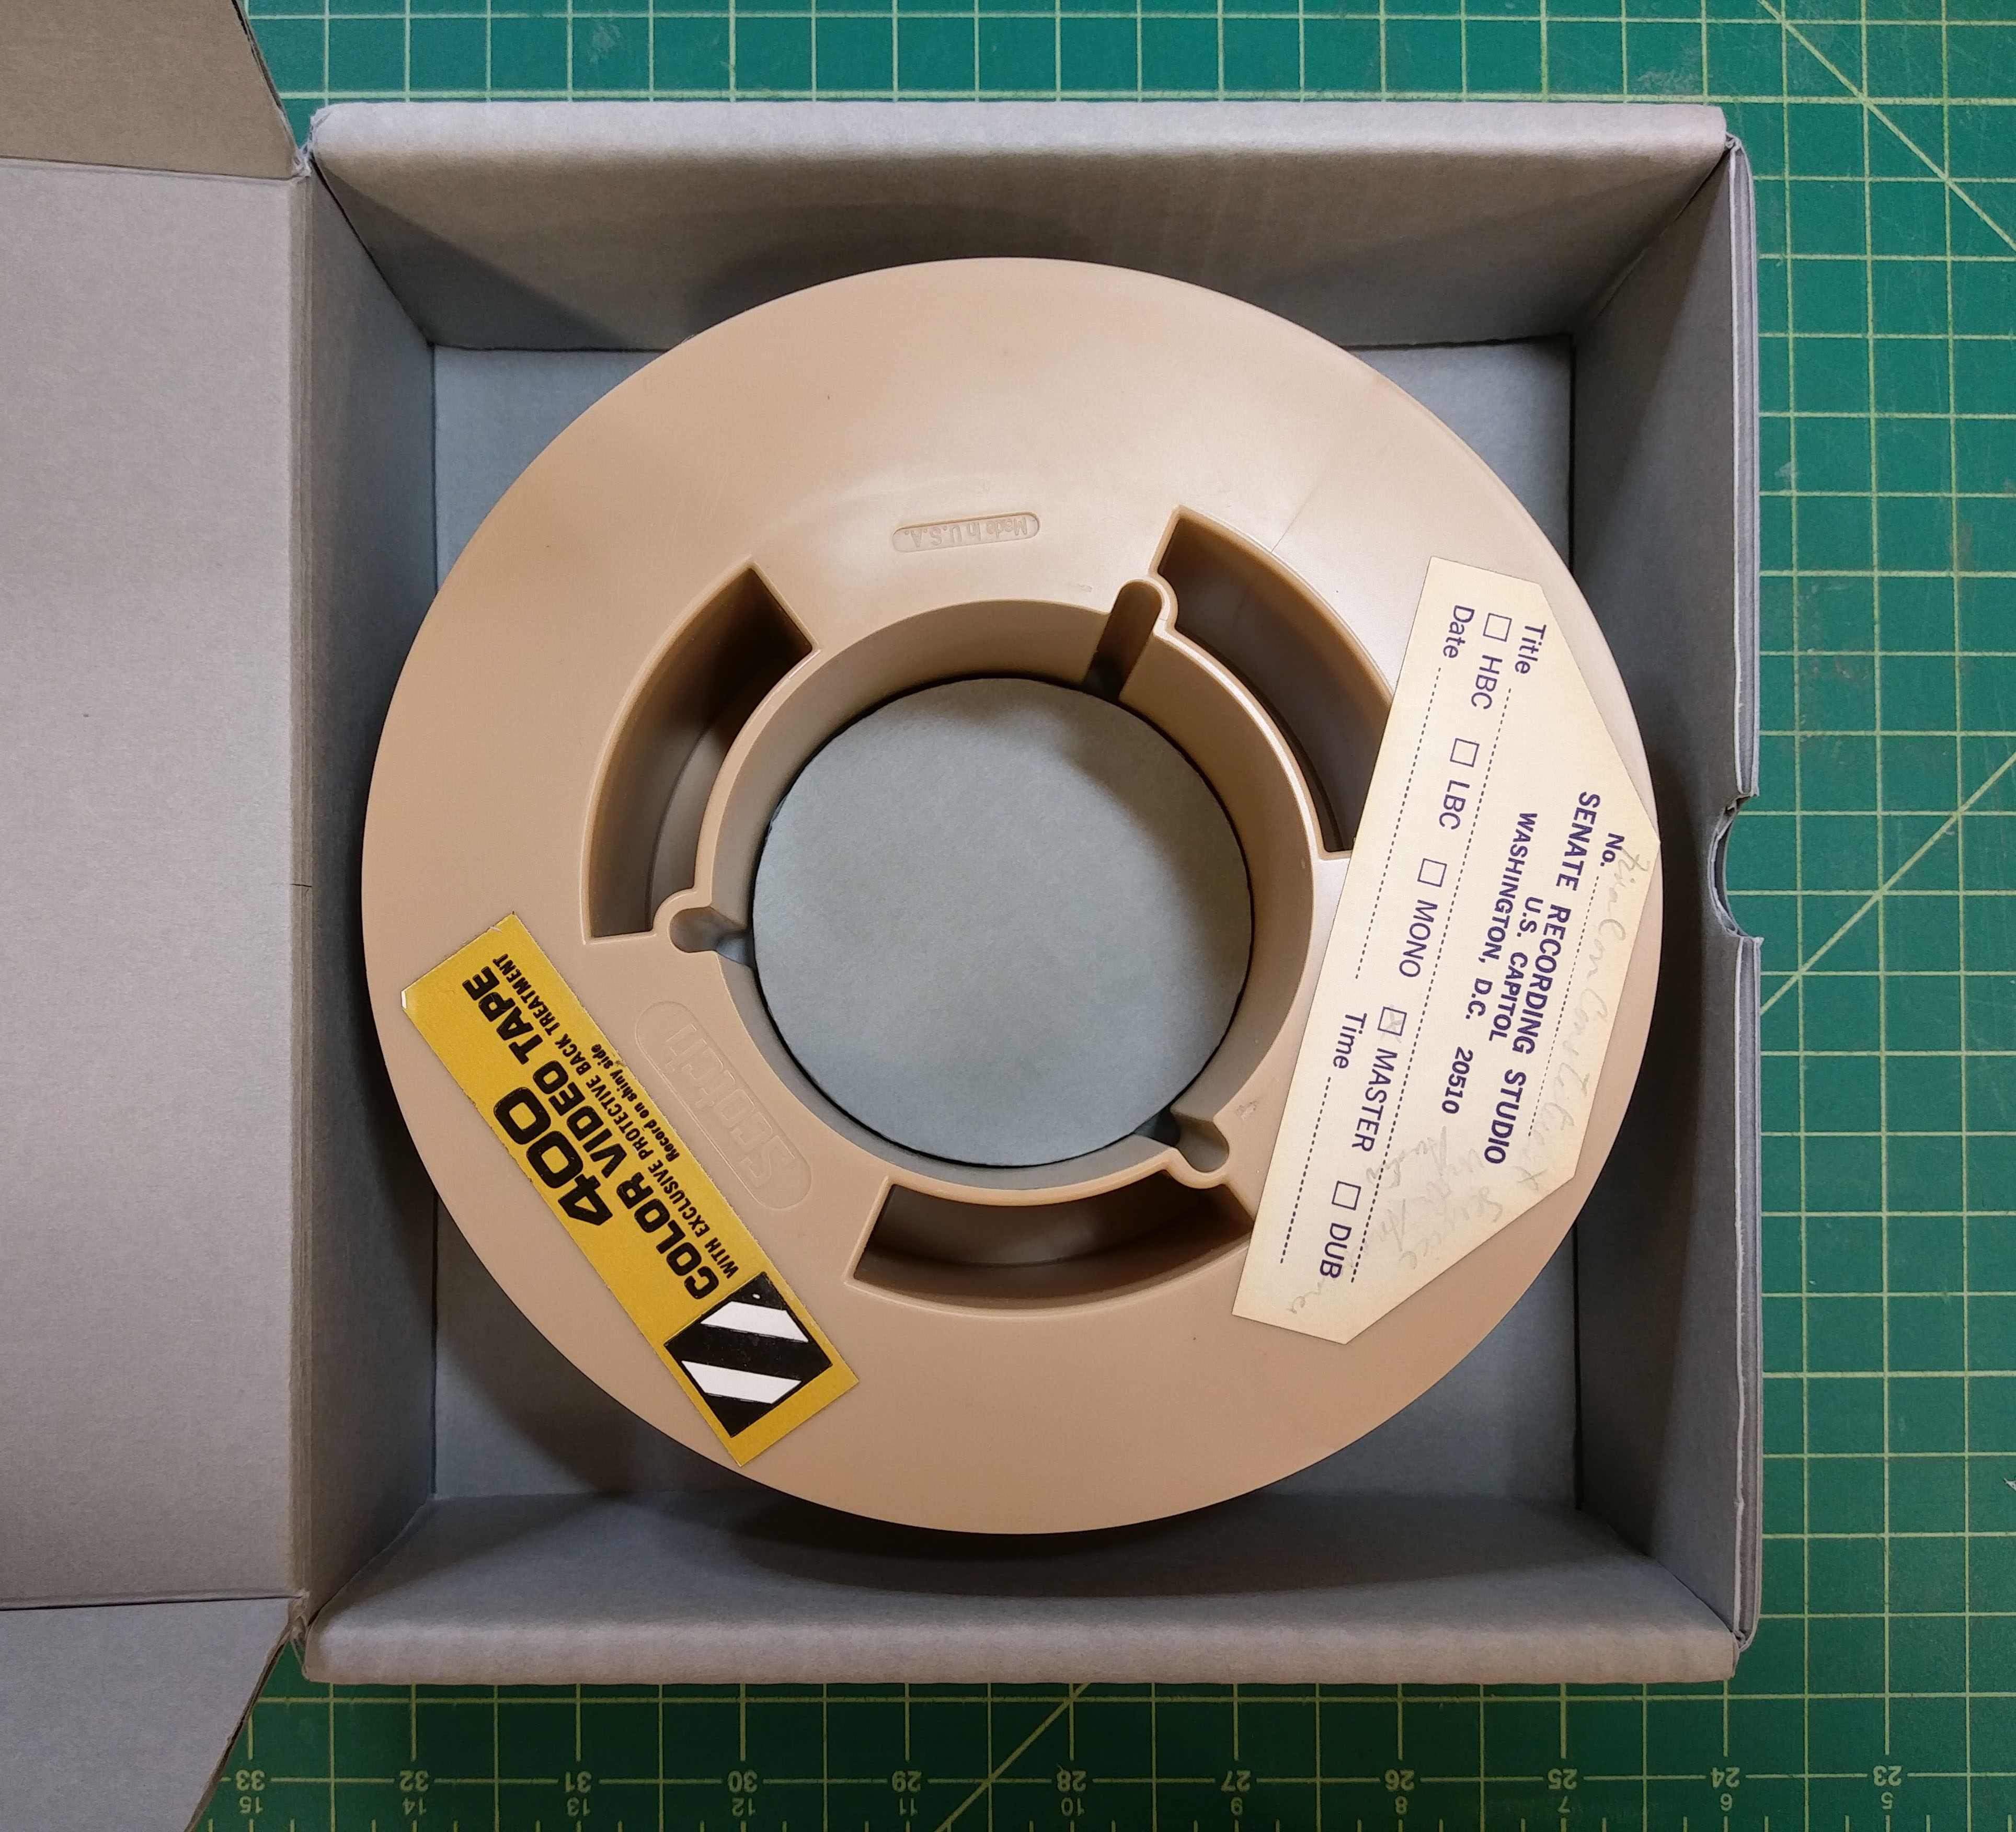
Our audiovisual preservation specialist Chris Bañuelos recently came to me with a few reels of videotape that were in need of housing. Enclosures for many types of audiovisual materials can be usually be purchased from archival suppliers, but this particular format, 2-inch quad tape, is apparently so obscure that containers for it are hard to come by. Chris had original boxes for some of the tapes, but these were made of acidic corrugated cardboard. I agreed to try and replicate the style of the original boxes using archival corrugated cardboard – I always enjoy a good enclosure challenge.
I did not set out to reinvent the wheel here; I wanted to mimic the original boxes as closely as possible by adapting the pattern for a basic corrugated book enclosure. I unfolded one of the old boxes and traced it on a blank sheet of paper to get a rough outline, then I measured the box and added the measurements to the tracing to make a template. I planned to use B-flute corrugated board, which is approximately but not exactly the same thickness as the original cardboard. Because of this difference I expected that my first trial of the template would likely be imperfect, but I went ahead with it anyway. I wanted to see what would be off in the finished box so that I could go back and fine-tune the template accordingly.
Sure enough, my first attempt wasn’t quite right – the lid was a bit too short and an even bigger bit too narrow, causing it to fit too loosely to stay closed. I added an eighth inch here and a quarter inch there and tried again. This time it looked great, but the lid was now just a little too tight for a person to easily and comfortably open it. After yet another small adjustment to the template, I had a box with a well-fitting, easy-to-open lid.
The last step was to fit the inside of the box with a short hub that would keep the reel from shifting. I used my handy circle cutter (which dates back to my high school days!) to score circles in scraps of the corrugated board, then finished cutting them out with a scalpel. I stacked three disks together, adhering with double-sided tape, and centered the stack in the bottom of the box, again with double-sided tape.
The finished box is similar in style to the original. Now that I’ve perfected the pattern through a little trial and error, I have a reliable template that I can hand to a student worker who should be able to successfully recreate the box.
Angela Andres
Special Collections Conservator
Conservation Services


