
Tips and Tricks to Using Spencer’s Finding Aids
Using a finding aid might not always be the most intuitive process. I know when I started working at Spencer, the finding aids were quite confusing to navigate. Even today, I am still learning new ways to utilize them in my research. Preliminarily, I would just say to dive right in. Things are not always going to make the most sense, but you won’t learn unless you try!
While this post isn’t meant to be a be-all, tell-all to using Spencer’s finding aids, I hope it can help provide some insights to make things easier. We want our collections to be easily and readily available to all our patrons.
So, first, you might ask: What is a finding aid? Well, it’s a document created by archivists that consolidates information about and describes the contents and context of an archival collection. Some information in a finding aid can also be found in the catalog record for an archival collection. A finding aid is typically longer than a catalog record because it includes additional information about a collection.
You might also be wondering: What materials are described in – and can be found by searching – Spencer’s finding aids? It tends to be things like manuscripts, scrapbooks, diaries, etc. Mostly, it is the things we house that are not printed books. However, just as some books are not cataloged, not all materials have a finding aid. Additionally, things can get tricky because no two finding aids are the same. Some collections are processed in greater detail than others, which can make searches easier yet also more complicated.
For the purpose of this blog post I am using the Diaries of Anna Johnson (Call Number: RH MS 1421) as my example collection. The collection is a standard, processed small collection. And, as I said, processing happens on many levels, and collections come in all sizes. This post is a small example of how to navigate the finding aids. So, let’s dive in!

Searches
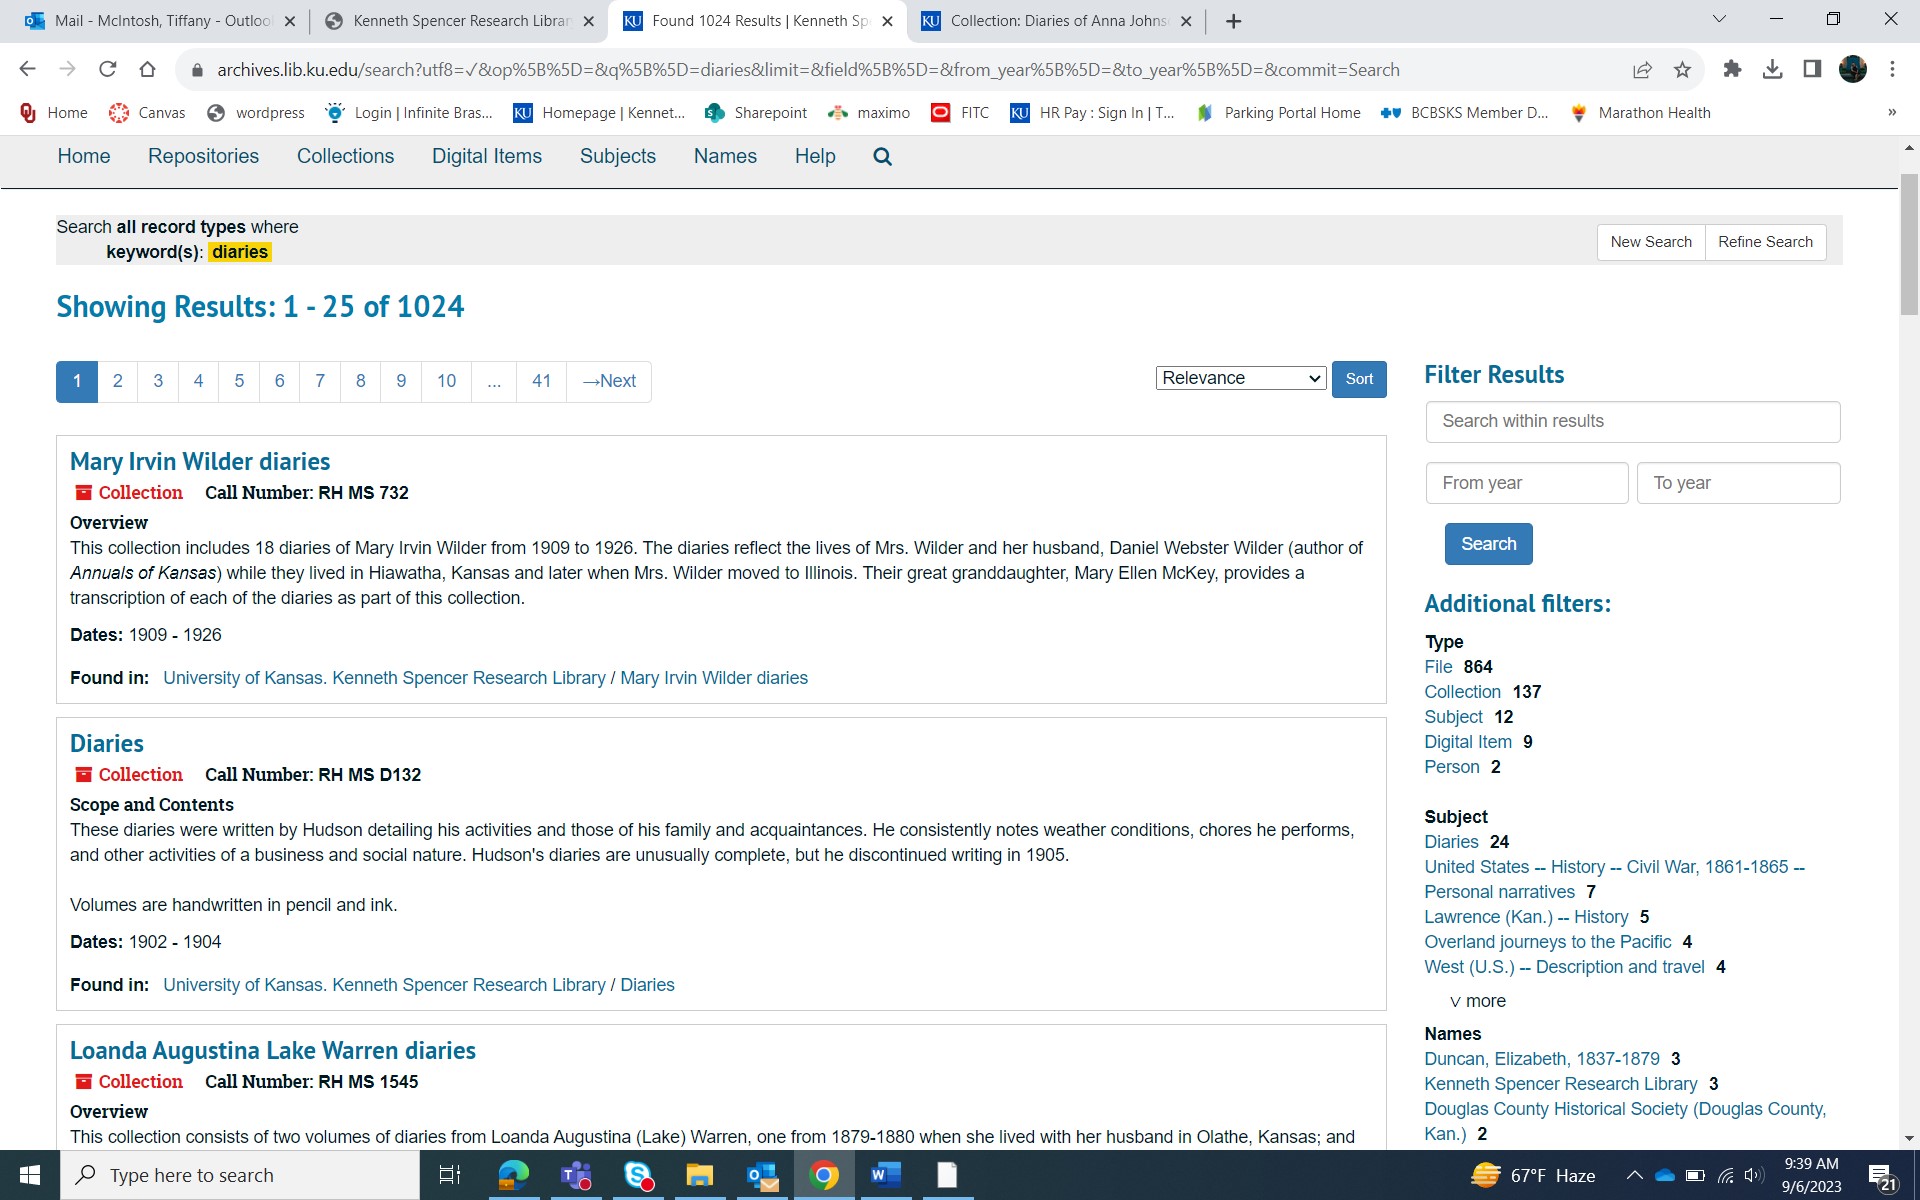
To begin your search, you need to identify some search terms. You can start out as vague or specific as you like, depending on your topic. For some collections, you might have to get a little creative. To find my example collection I typed “diaries” into the search bar. As you can see in the screenshot below, that search returned 1024 results, and my collection is not one of the top few choices. A short scroll later and the Diaries of Anna Johnson are listed.
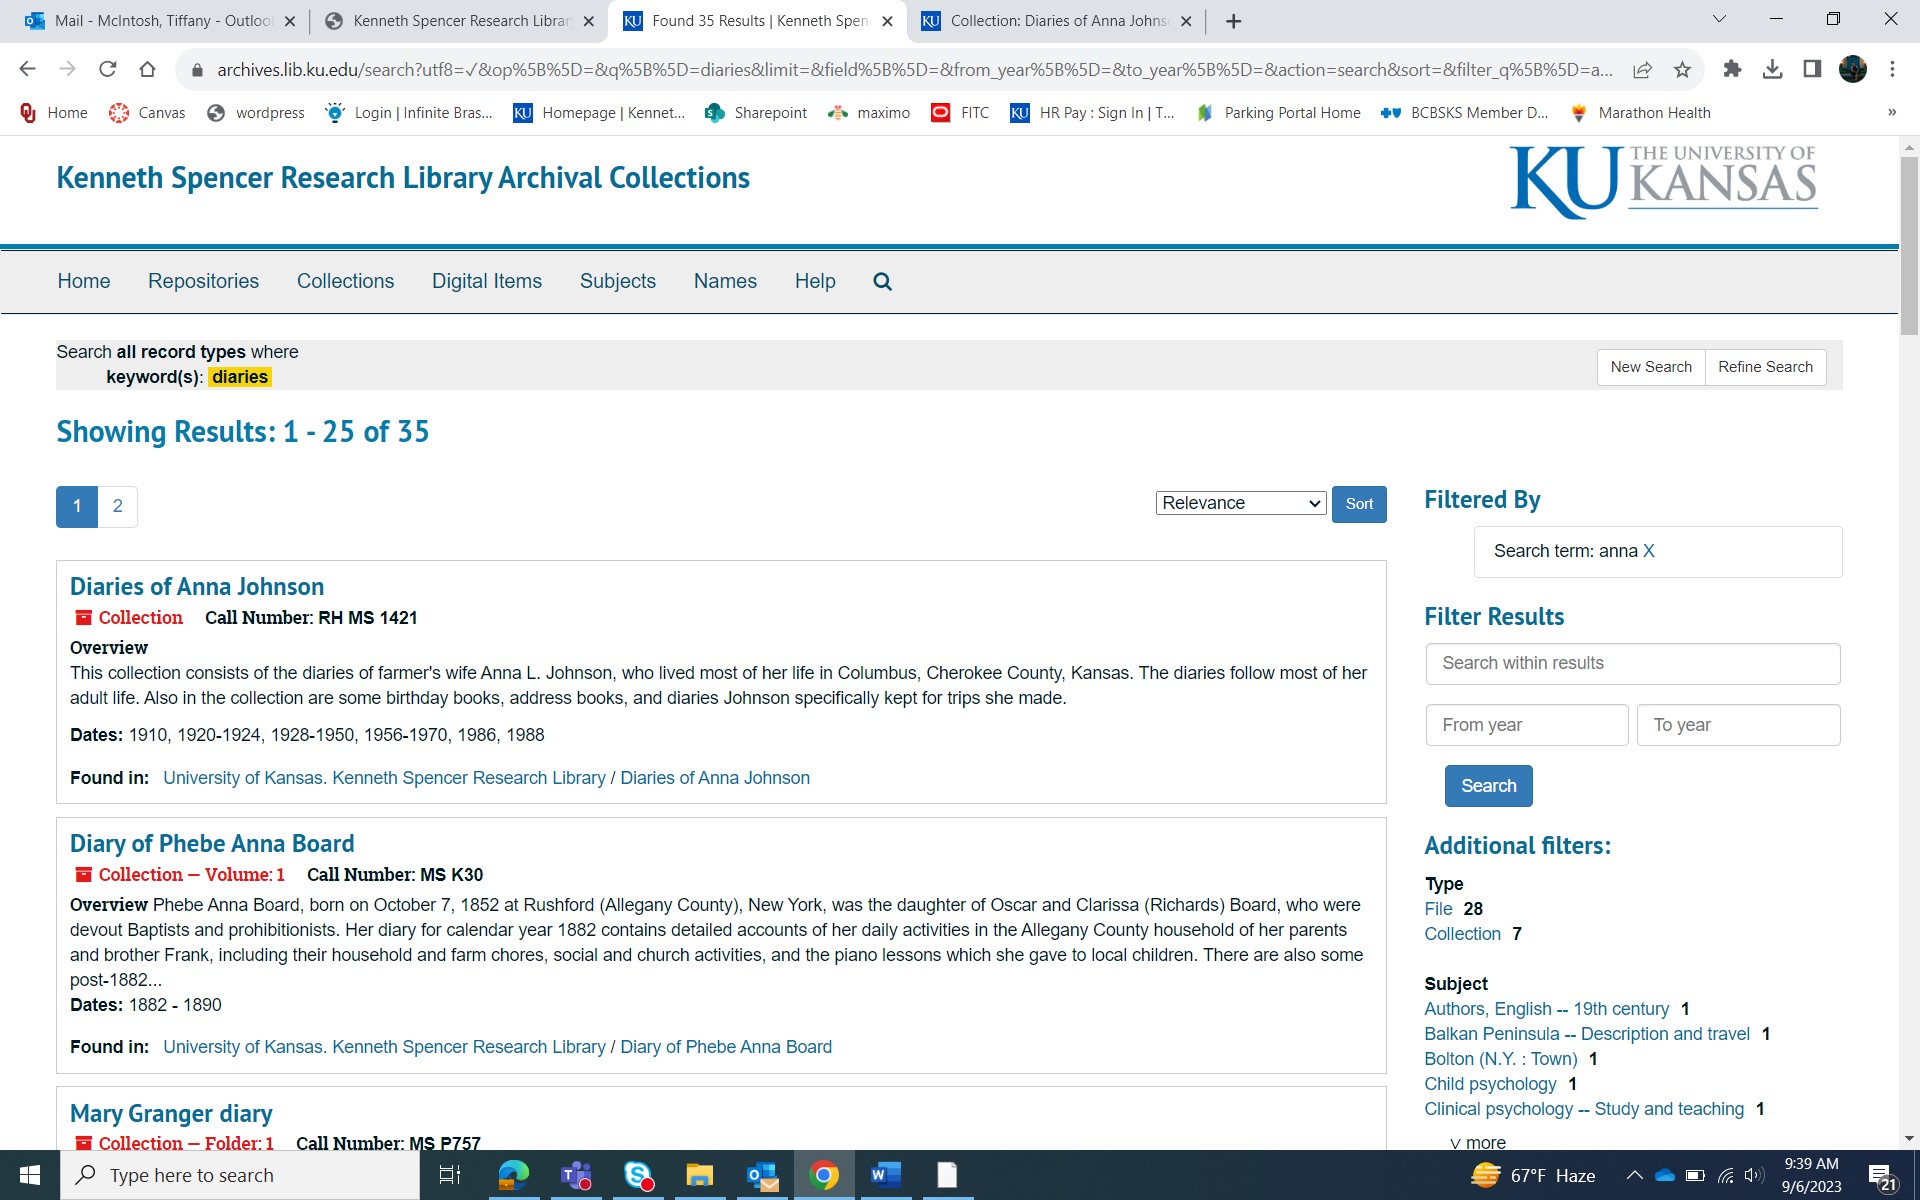
Example aside, looking at the search screen, you can see that in the top right, you can sort the search results by title and year if desired. You can also filter results by an assortment of criteria to the right. Additionally, you can do a further search by using more search terms (and sometimes a year) in the box to the right. This is kind of like a search within a search. You can see in the following screenshot that I searched “Anna” within my original search for “diaries.”
Collection Pages
Now looking at the main or home page for a collection’s finding aid (see below), there is a lot of information given. The most notable information is the collection’s title, call number, and container inventories. How in-depth the collection has been processed determines the amount of other information provided. Some examples of information given on the collection’s main screen include an overview of the collection – a brief description of what the collection contains – as well the date range of the collection, information about the collection’s creator (including a biography, if available), and conditions governing access and use of the collection, which will note any restrictions. Keep in mind, this is not a complete list of all the information that may be provided on a collection page.
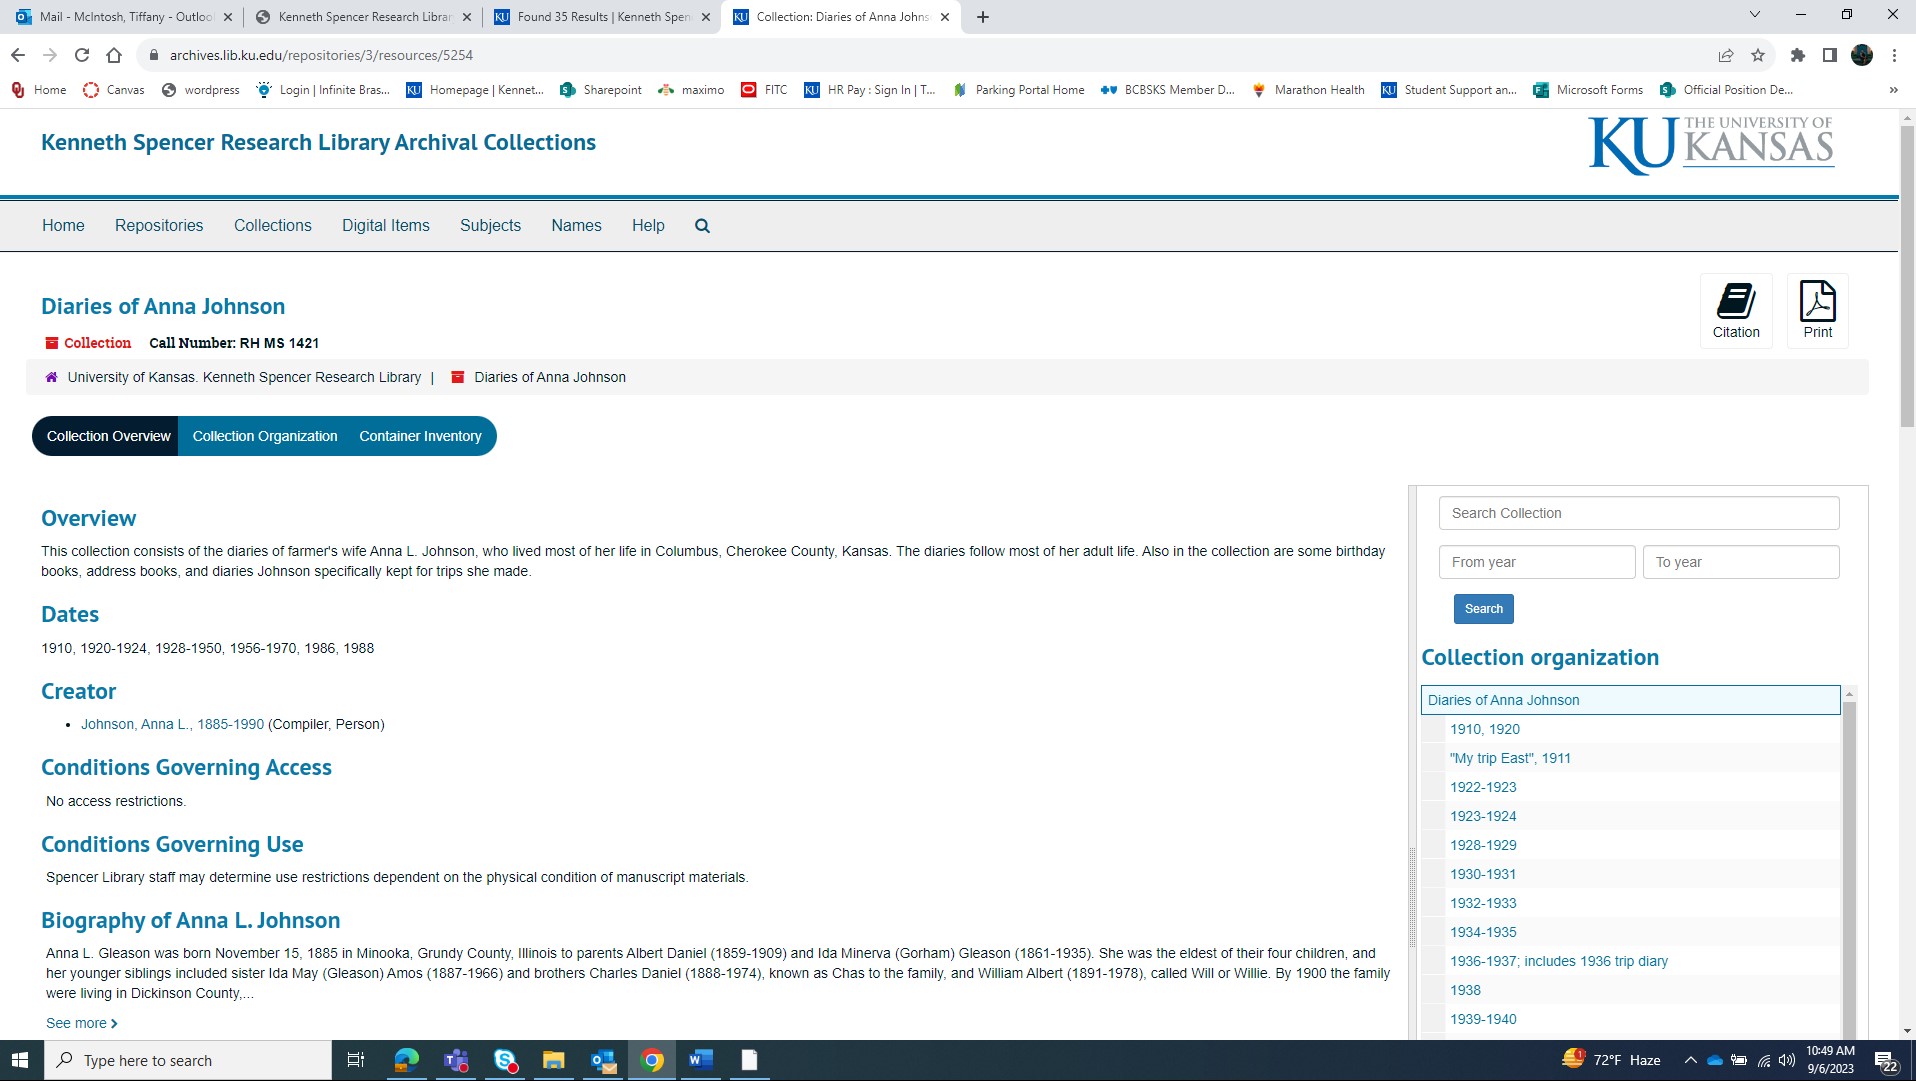
If you look to the right on the collection’s main page, you will once again see that you can search within the collection by search term or year. You will also see the collection organization sidebar, which gives general information on what materials are in the collection. Items of interest can be clicked on and will link you to that item’s page. Depending on the level of processing, there will be different information available. For my example, I clicked “1922-1923,” which took me to that diary’s own page. This is where researchers can find what box within the collection the item is housed, as well as which folder within the box. You can see that the diary from 1922-1923 is housed in Box 1, Folder 3. This information is crucial when researchers are creating Aeon requests for specific materials.
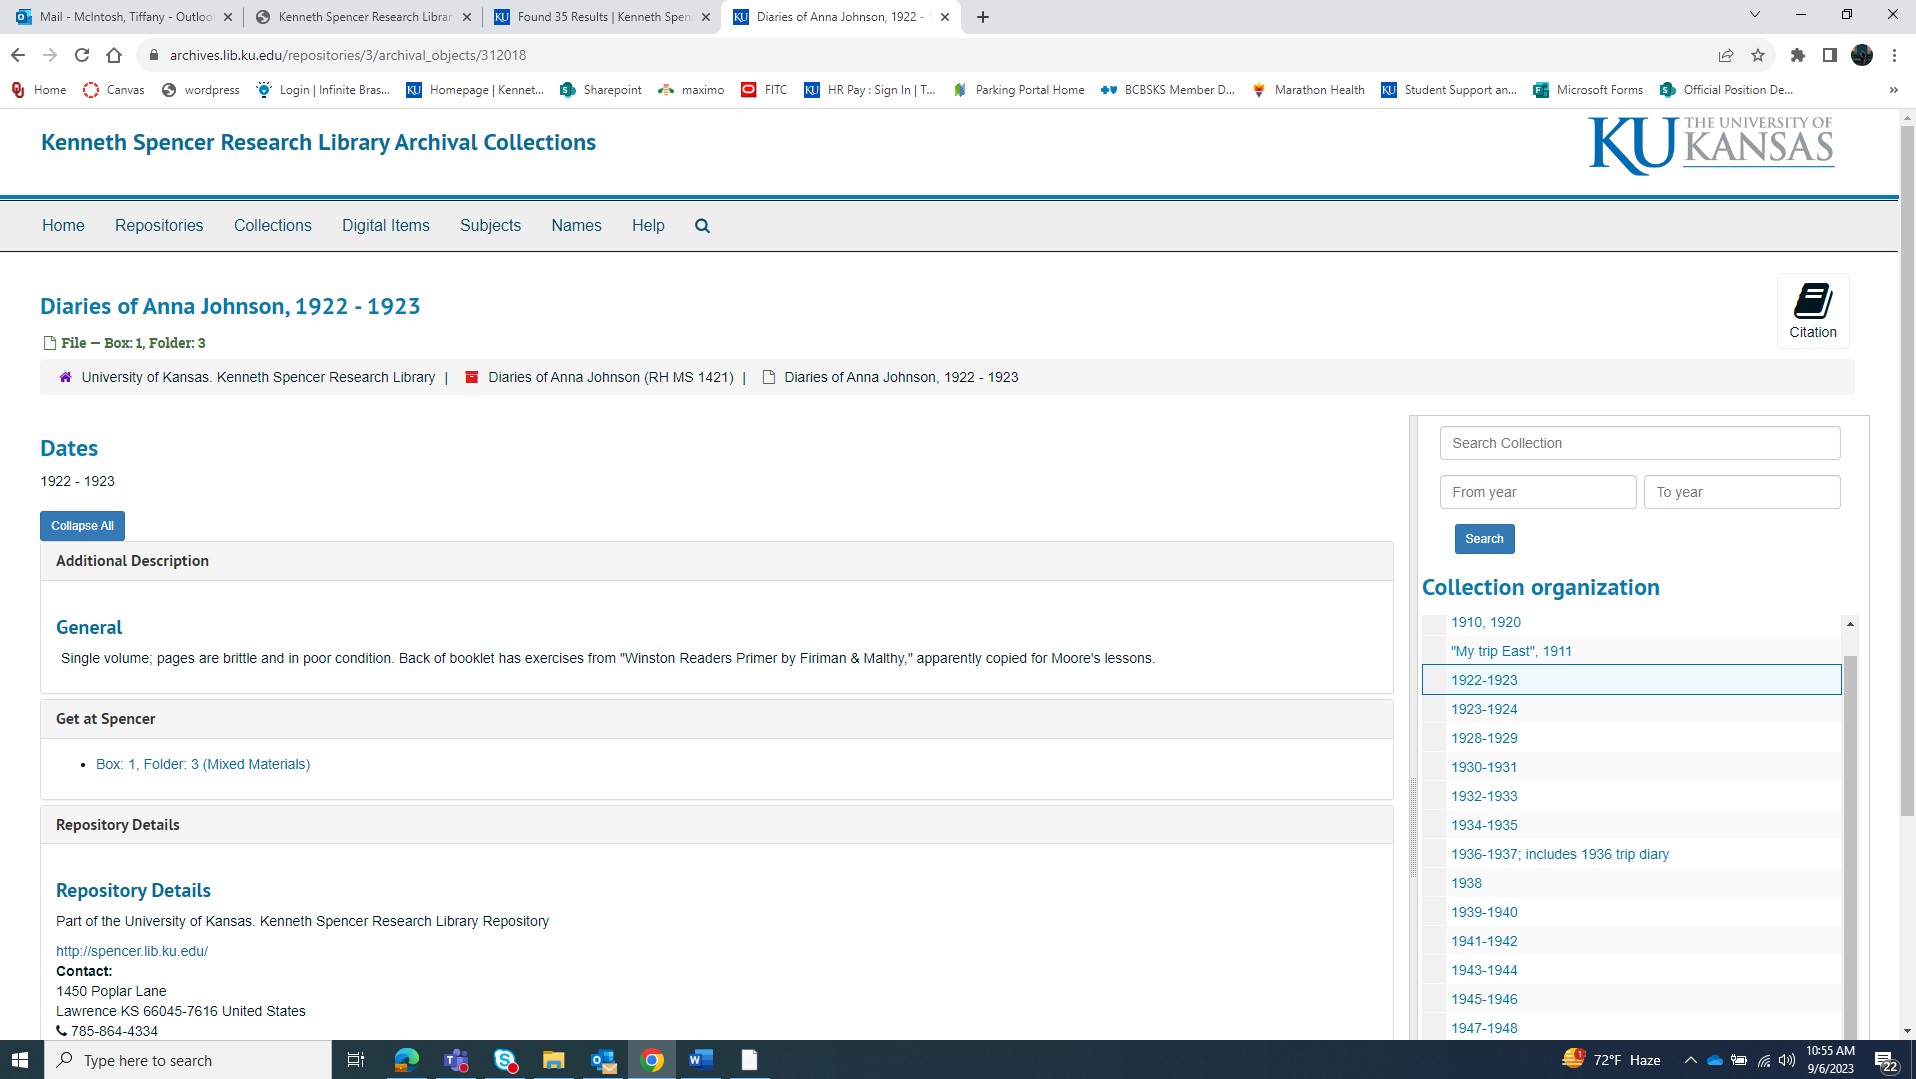
It is worth noting that – while it can be important for researchers to know what folder number they are looking for – when items are pulled from the stacks, they are pulled at the box level. This means that the researcher will receive the entire box when visiting the Reading Room, even if they just want to view one folder within that box.
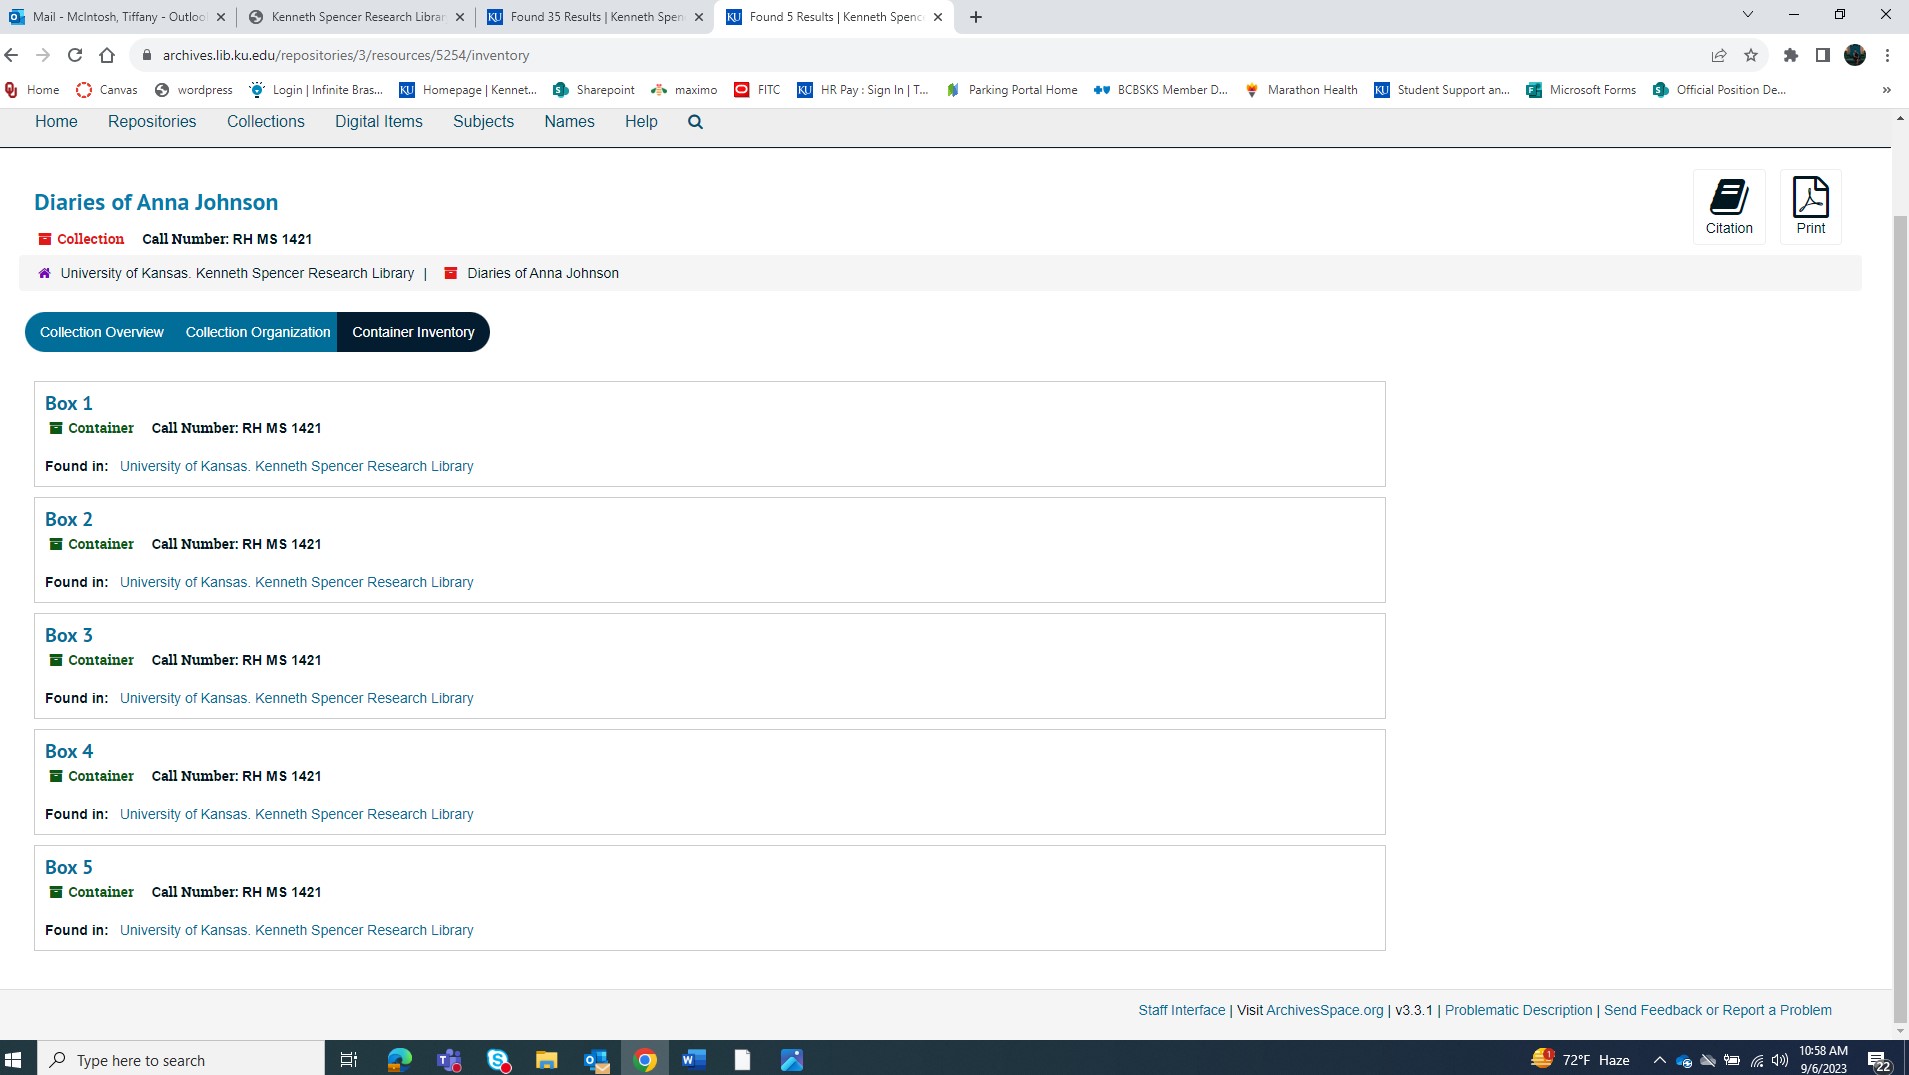
Container Inventories
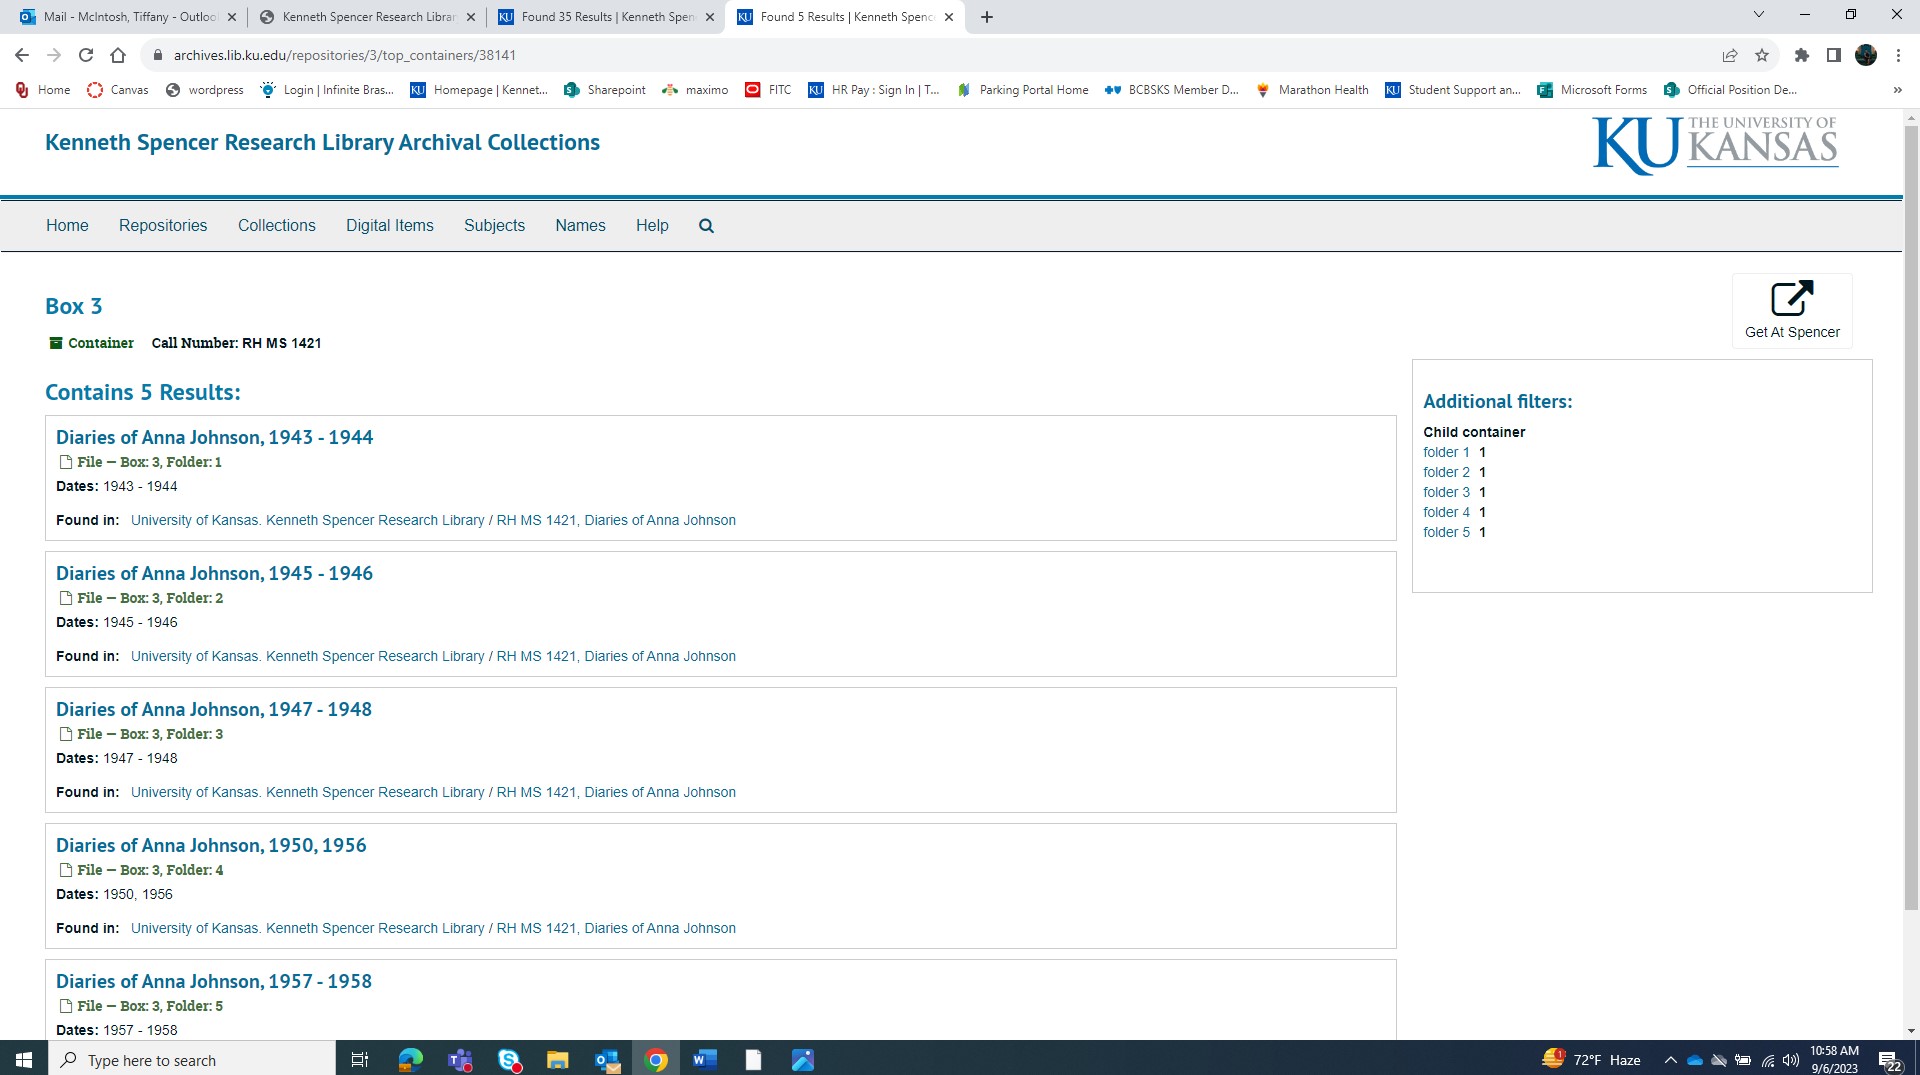
If we go back to the collections main page, there is a tab at the top titled “Container Inventory.” This is another way to see what is within each box in the collection. If a collection has multiple call numbers, this page is also useful in determining which box and call number a researcher truly wants. For this example, I selected Box 3. At the top of the screen in the second image below, you will see the call number and box number. Then below, you will see what materials are included in that box and what folders they are in. I find this screen especially helpful with the more complex collections that house many different types of materials.
As I said previously, these tips and tricks are not an in-depth look on how to use Spencer’s finding aids; they are simply to help you get started. Using finding aids for the first time can be a bit overwhelming, but the more you interact with them, the more neat features you will find. If you have any questions on navigating the finding aids, you are welcome to visit us in person or reach out to us at ksrlref@ku.edu. You can also check out our 2014 blog post “Finding Aids 101,” although it shows Spencer’s previous finding aid interface. Happy researching!
Tiffany McIntosh
Public Services
Tags: finding aids, Kansas Collection, Public Services, Research, Research tips, Tiffany McIntosh